")
Unlocking Interior Visualization: A Beginner’s Guide to 3DS Max Walkthroughs
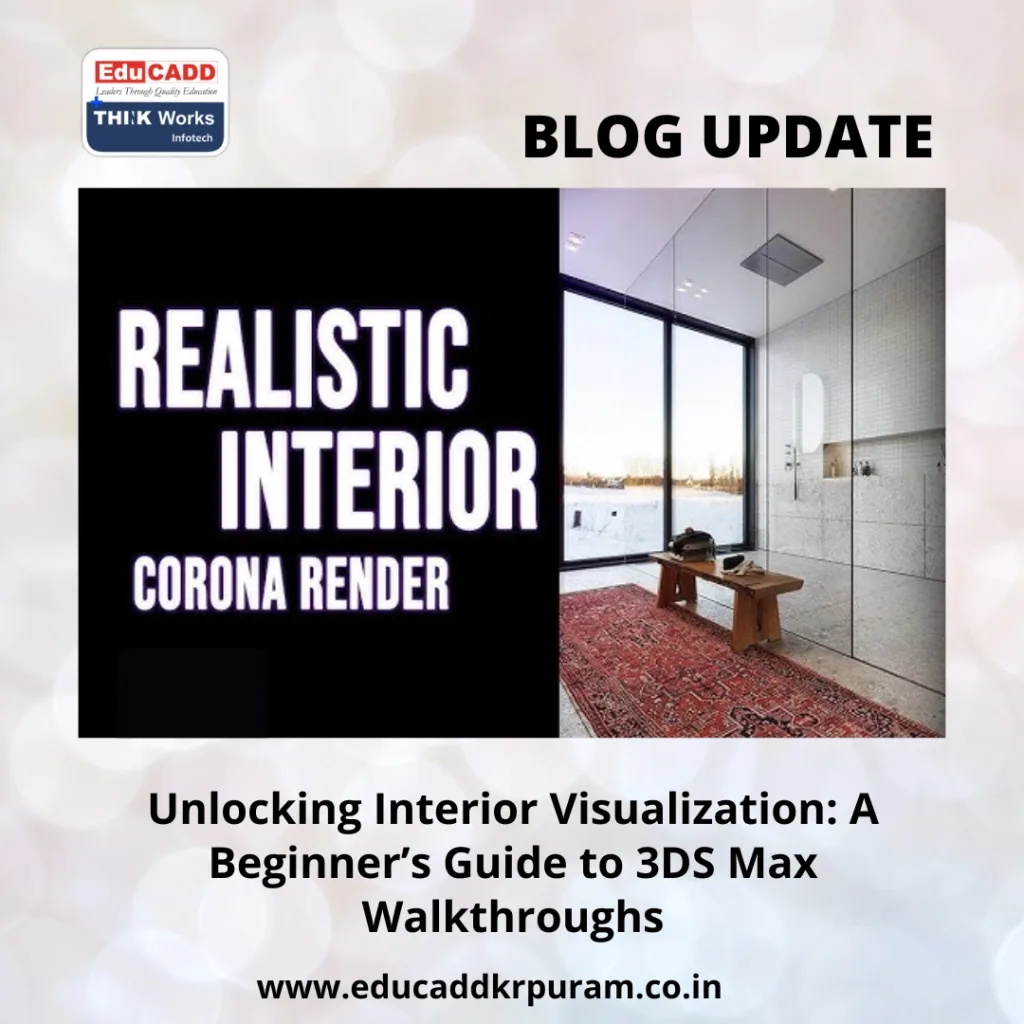
Visualizing an interior design in a static image is helpful, but nothing compares to a virtual walkthrough. With 3DS Max Interior Walkthrough, even beginners can create immersive tours that breathe life into spaces. This powerful software combines modeling, lighting, and animation tools to bring interiors to life, making it easier to present your ideas convincingly.
3DS Max Interior Walkthrough
This guide will introduce you to the essential steps for creating your first interior walkthrough using 3DS Max. From setting up your project to rendering smooth animations, you’ll gain practical insights and tips to launch your 3D visualization journey with confidence.
1. Why Choose 3DS Max for Interior Walkthroughs?
Before diving into the process, it’s important to understand why 3DS Max stands out for interior walkthroughs.
Unlike many 3D programs, 3DS Max offers a comprehensive toolkit tailored to architectural visualization. Its robust modeling capabilities allow precise creation of walls, furniture, and fixtures. Moreover, it supports advanced lighting and rendering, which are critical for realistic interiors.
A walkthrough is dynamic—it moves through space rather than showing just one angle. This interactivity helps clients grasp scale, flow, and design details better than still images can. With 3DS Max, you can import CAD layouts, build detailed interiors, set realistic lights, and animate cameras to simulate walking through the room.
Furthermore, 3DS Max supports multiple rendering engines like V-Ray and Arnold, which elevate realism by accurately simulating light and materials. This combination of flexibility and power makes it ideal for producing professional-quality walkthroughs, even for beginners willing to learn.
2. Preparing Your Workspace and Project Setup
Successful walkthroughs begin with good project organization.
Import Your Floor Plans:
If you have existing 2D plans from AutoCAD or other software, import them to use as a reference. This ensures your 3D model reflects the actual dimensions and layout. Make sure units match to avoid scale errors.
Set Measurement Units:
Go to Customize > Units Setup and choose either metric or imperial, depending on your project’s location. Consistent units are essential to avoid misalignments and unrealistic proportions.
Organize with Layers and Groups:
Separate walls, furniture, lighting, and decorations into layers or groups. This organization helps manage the scene efficiently. You can easily hide or isolate parts during modeling and animation.
Save Incrementally:
Large walkthrough projects can become complex. Save multiple versions at key milestones to protect your work against unexpected issues.
3. Modeling the Interior Environment
Modeling transforms 2D plans into a detailed 3D environment.
Start with Structural Elements:
Trace walls on your imported floor plan using the Line tool, then extrude them to the correct height. Add floors and ceilings using planes with appropriate thickness.
Add Doors, Windows, and Fixtures:
Model doors and windows based on real measurements to keep everything realistic. Use Boolean operations to cut openings in walls for windows and doors.
Furniture and Accessories:
While beginners may use pre-made furniture models from online libraries to save time, learning to model simple furniture improves control over style and scale.
Add Details for Authenticity:
Small elements like baseboards, moldings, and light fixtures enhance realism. These might be subtle, but they make the walkthrough feel lived-in and believable.
Keep Optimization in Mind:
High polygon counts slow down the software, especially during animation. Optimize models by reducing unnecessary polygons or using proxy objects.
4. Lighting and Materials: Bringing Your Scene to Life
Lighting and materials define the mood and realism of your walkthrough.
Use Daylight and Artificial Lights:
For spaces with windows, set up daylight systems that simulate sun and sky based on geographic location and time of day. For interiors with limited natural light, place photometric lights that replicate actual fixtures.
Material Editor Basics:
Apply textures for walls, floors, fabrics, and furniture. Use the Material Editor to tweak properties like reflection, glossiness, and bump mapping, which affect how surfaces react to light.
UV Mapping:
Apply UVW mapping to textures so they align properly on surfaces without stretching or distortion.
Balance Lighting:
Avoid overly dark or bright areas. Use fill lights to soften shadows and highlight important details, creating a natural look.
Test Renders:
Render small sections or quick previews before committing to full renders. This saves time and allows fine-tuning of lighting and materials.
5. Camera Animation and Final Rendering
Animation turns your model into a walkthrough video.
Create a Camera Path:
Draw a spline path representing the desired walkthrough route. Attach a camera to this path, ensuring it moves smoothly through the space.
Adjust Camera Settings:
Set the camera’s field of view to avoid fisheye distortion and capture the interior appropriately. Position keyframes to control speed and direction.
Smooth Camera Movements:
Use ease-in and ease-out keyframe interpolation to make camera transitions natural and fluid.
Render Settings:
Choose your rendering engine—V-Ray is popular for its balance of quality and speed, while Arnold provides advanced realism. Set output resolution based on use (Full HD for web, 4K for high-end displays).
Post-Production Touches:
Use video editing software like Adobe Premiere or After Effects to adjust color grading, add effects, or include music and captions.
Conclusion: Embarking on Your 3DS Max Walkthrough Journey
Mastering 3DS Max for interior walkthroughs opens up exciting opportunities for designers and visualization artists. While the learning curve can be steep, breaking the process down into manageable steps makes it accessible for beginners.
Focus on accuracy in modeling, attention to lighting and materials, and smooth camera animation. Each project you complete sharpens your skills and confidence.
Ultimately, interior walkthroughs created with 3DS Max do more than showcase design—they tell a story and allow viewers to experience spaces before they exist. With practice and creativity, you can craft walkthroughs that truly impress and inspire.

