")
Space Reimagined: Learn SketchUp for Interior Projects with Cutting-Edge Visualization Tools
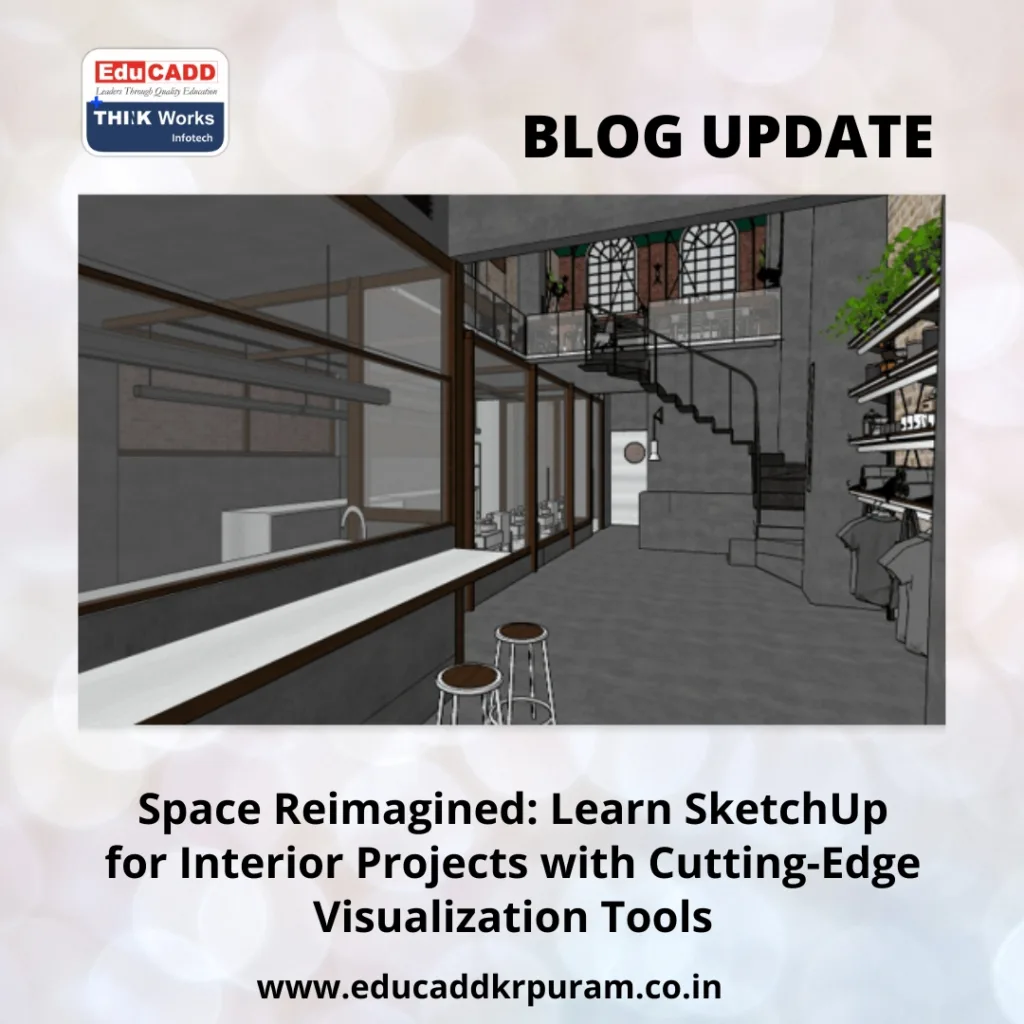
In the ever-evolving world of interior design, delivering stunning visuals is no longer optional—it’s essential. Whether you’re designing for residential spaces, office interiors, or commercial environments, the need to communicate ideas clearly and vividly has never been greater. This is exactly why designers and architects around the world are choosing to learn SketchUp Interior Design.
SketchUp simplifies complex ideas. It blends technical precision with artistic flexibility, offering an intuitive platform for creating detailed interiors with realistic visualization. With SketchUp, your concepts move beyond paper—they come alive in immersive, interactive 3D models.
SketchUp Interior Design Mastery
In this comprehensive guide, you’ll explore how SketchUp can transform your interior design workflow. From understanding its powerful tools to learning practical steps for visualizing interiors, this blog will help you build skills that are in high demand across the design industry.
1. Why SketchUp is the Ultimate Tool for Interior Designers
When you begin your journey to learn SketchUp for interior projects, it’s crucial to understand what sets it apart. SketchUp’s design philosophy emphasizes clarity, accessibility, and speed—qualities that make it a natural choice for interior designers.
a. Simplicity Meets Sophistication
Unlike other design tools with steep learning curves, SketchUp offers a drag-and-drop interface, guided drawing tools, and user-friendly navigation. It makes 3D modeling feel as natural as sketching by hand.
b. Designed for Design Thinkers
SketchUp doesn’t just model spaces—it supports your thought process. Whether you’re rearranging furniture, testing color palettes, or adjusting lighting, it responds to your creative flow seamlessly.
c. Time-Efficient Project Delivery
With real-time modeling and a massive 3D Warehouse of pre-built assets, SketchUp drastically reduces the time required to draft, design, and visualize interiors.
d. Customization for Every Need
SketchUp works for all interior design styles—from minimalist to eclectic. You can modify objects, customize textures, or build dynamic components that respond to input.
In essence, when you choose to learn SketchUp for interior projects, you’re investing in a tool that adapts to your workflow rather than forcing you to adapt to it.
2. Getting Started: The Tools That Matter Most
SketchUp’s strength lies in its simplicity, but that doesn’t mean it’s basic. In fact, its core tools allow you to create complex and refined interiors. Let’s explore the tools that matter most when working on design projects.
a. Line, Rectangle & Arc Tools
These basic drawing tools form the foundation of every model. You use them to outline walls, doors, and furniture profiles before giving them volume.
b. Push/Pull Tool
Perhaps the most iconic tool in SketchUp, Push/Pull lets you extrude flat surfaces into 3D forms. Walls, kitchen islands, shelves, and ceilings—everything starts here.
c. Move & Rotate
Whether you’re aligning dining tables or adjusting ceiling lights, these tools help with accurate placement and orientation of elements.
d. Offset & Follow Me
These tools are useful for detailing. Create borders, wall trims, cornices, or custom moldings with just a few clicks.
e. Grouping & Components
Always group walls, floors, and furnishings to avoid unwanted overlaps. Components help you reuse elements like chairs, doors, and lamps across multiple spaces.
f. Tags (Layers) and Scenes
Tags organize your model, while scenes allow you to create camera views. Combine both to navigate large interior models easily and to prepare for presentations.
g. Material Browser
Use the built-in material library or import your own. Whether you need matte paint, leather, ceramic tiles, or brushed metal, this tool helps simulate textures and finishes.
Each tool becomes more powerful with use. As you learn SketchUp for interior projects, these functions will become second nature—and dramatically improve your efficiency.
3. A Room-by-Room Approach: Interior Design in SketchUp
One of the best ways to learn is by doing. So, let’s explore how SketchUp can be applied in a real-world design process by walking through the design of a small apartment.
a. Foyer & Living Room
Start by importing or drawing the floor plan. Extrude walls and add door openings. Apply hardwood textures to floors and light shades to walls. Use the 3D Warehouse to import a sofa set, center table, wall shelves, and a TV unit. Make it real by adding accessories—rugs, plants, and lighting.
b. Kitchen & Dining Area
Use cabinet modules and the Follow Me tool to create custom kitchen counters. Add sinks, cooktops, and built-in ovens from the warehouse. Don’t forget to experiment with materials—glossy finishes for cabinets, stone textures for countertops, and patterned tiles for backsplashes.
c. Bedrooms
Place beds, wardrobes, and study desks. Use layering to add curtains, table lamps, side tables, and rugs. Adjust wall finishes to suit the occupant’s personality—perhaps a textured feature wall or pastel paint shades.
d. Bathrooms
Add sanitary ware, mirrors, towel holders, and shower enclosures. Import modern fixtures and apply reflective textures to glass and chrome finishes. Lighting placement is critical here for creating the right ambiance.
e. Balcony or Terrace
Place railing systems, outdoor seating, potted plants, and maybe even a swing or hammock. Use natural lighting and landscaping elements to enhance the experience.
Designing room by room allows you to develop a detailed, immersive interior model. This method ensures that no detail is missed while keeping your focus sharp and your project organized.
4. Visualization Tools That Elevate Your Designs
Modeling is just the beginning. Great design also requires great storytelling—and that’s where visualization tools come in. SketchUp supports several plugins and native tools that help you present your ideas with maximum impact.
a. V-Ray for SketchUp
This is the go-to rendering engine for professionals. It creates high-definition, photorealistic images with advanced control over light sources, shadows, reflections, and materials.
b. Enscape Real-Time Rendering
If you need fast results or live walkthroughs, Enscape is your best friend. It syncs with SketchUp and lets you experience interiors in real-time with realistic daylight and artificial lighting.
c. SketchUp Styles
Use non-photorealistic styles like pencil sketches, pen outlines, or marker renderings for concept presentations. They are ideal for early client discussions.
d. Layout for Construction Docs
SketchUp’s Layout tool is perfect for creating scaled drawings, annotations, and construction documents. Present floor plans, elevations, and sections—straight from your 3D model.
e. Light & Shadow Controls
Showcase how sunlight enters a space throughout the day. Adjust location, date, and time to simulate lighting conditions and optimize design for comfort and energy efficiency.
These tools help you present a complete package—not just a model, but a vision. When clients experience your designs in this way, their decision-making becomes easier and more enthusiastic.
5. How to Learn SketchUp for Interior Projects: A Practical Learning Plan
You’ve seen the tools, explored the workflow, and witnessed visualization techniques. Now, let’s talk about how you can learn SketchUp for interior projects quickly and effectively.
a. Week 1–2: Foundation
-
Learn navigation, axis system, and drawing basics
-
Master Push/Pull, Move, and Offset tools
-
Build simple furniture and layout mockups
-
Apply basic textures and materials
b. Week 3–4: Layout & Components
-
Practice grouping and nesting components
-
Import assets from 3D Warehouse
-
Explore layering and scene setup
-
Try building a room—start with a living space
c. Week 5–6: Intermediate Projects
-
Design a complete bedroom or kitchen
-
Apply lighting concepts using shadows
-
Test materials with higher detail
-
Export high-quality model images
d. Week 7–8: Visualization & Documentation
-
Learn to use V-Ray or Enscape
-
Add render-ready materials and light sources
-
Create scenes for each room
-
Use Layout to prepare 2D documents
e. Bonus Tips:
-
Practice daily with mini-projects
-
Follow YouTube channels like “SketchUp School” and “The SketchUp Essentials”
-
Join forums like SketchUcation or Reddit’s r/SketchUp
-
Save and archive every project—it builds your portfolio
Learning SketchUp is like learning a language. With regular practice and goal-based learning, you’ll be speaking fluently in no time.
Conclusion: Design with Confidence, Deliver with Vision
SketchUp has transformed the world of interior design. It lets designers translate abstract ideas into detailed visualizations, offering clarity, speed, and creative control. Whether you’re freelancing, working in a firm, or studying to become a designer, the decision to learn SketchUp for interior projects opens up a world of opportunity.
With smart tools, real-time rendering, and room-by-room flexibility, SketchUp ensures that your vision doesn’t just stay in your mind—it becomes a virtual reality for clients and collaborators alike.
Now is the time to take the leap. Install SketchUp, open a blank file, and start designing your first space. The sooner you begin, the faster you’ll grow into the designer you aspire to be

