")
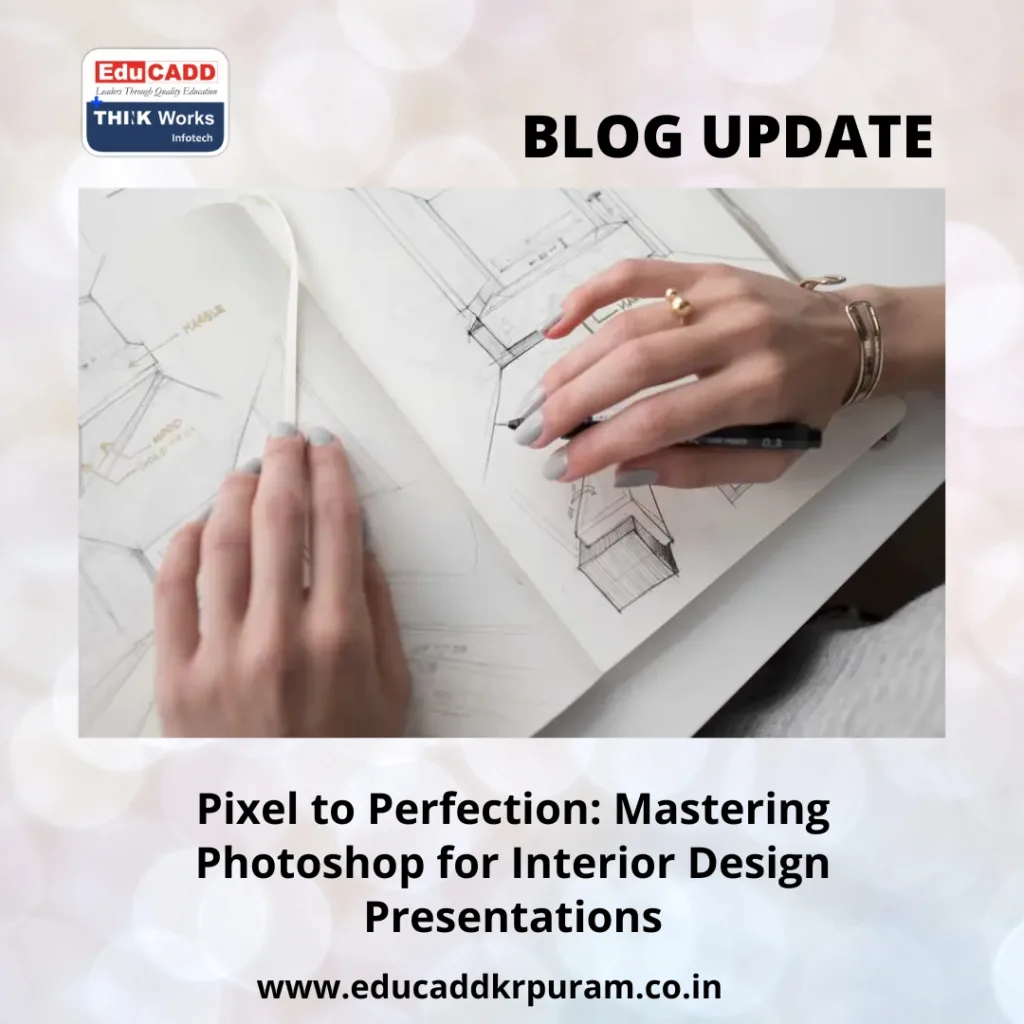
Pixel to Perfection: Mastering Photoshop for Interior Design Presentations
Photoshop Interior Design Presentations
1. Why Interior Designers Rely on Photoshop for Visual Storytelling
In interior design, first impressions are everything. Clients rarely buy into an idea they cannot see. That’s why high-quality visual presentation is vital in today’s competitive market. More often than not, designers need to translate technical ideas into stunning visuals. And nothing does that better than Photoshop Interior Design Presentations.
Designers choose Photoshop not just because it’s powerful, but because it helps them tell a story. Every space has a personality, and that personality must be communicated visually before it’s ever built. With Photoshop, you can show your client a cozy reading nook with natural lighting or a luxury kitchen with clean, minimal lines—all before construction begins.
Furthermore, visual storytelling reduces client uncertainty. When a client can clearly see your design direction, they’re more likely to move forward. It also simplifies the feedback loop. A change in color palette? A swap in furniture placement? In Photoshop, these are quick adjustments, not massive reworks.
Ultimately, it gives your clients clarity, your process efficiency, and your designs greater impact. Visual storytelling is no longer optional—it’s a necessity.
2. From Sketch to Scene: Creating Realistic Visuals Using Photoshop
Sketches and 3D models are great starting points, but Photoshop is where the visuals come to life. Whether you’re working with raw photographs or exporting 3D renders, Photoshop helps polish and perfect every scene.
Let’s say you have a raw render of a bedroom. On its own, it may look sterile. In Photoshop, you can enhance it with warm lighting, soften edges, and add decorative elements like pillows, artwork, or rugs. This transforms a basic image into an inviting interior visual that resonates emotionally with clients.
The Layer System is at the heart of this process. Each design element—walls, lighting, furniture, shadows—can be separated into layers. This means any change can be made independently, allowing for fast revisions and creative flexibility.
Tools like Perspective Crop, Free Transform, and Vanishing Point help maintain spatial accuracy when placing objects. Meanwhile, Brush Tools and Filters can be used to add lighting effects, depth, and atmosphere.
Designers can also work with photos of the actual space and overlay design elements to show a “before and after” concept. For example, adding a wooden floor over existing tiles, or replacing curtains, can help clients visualize the transformation.
So whether you’re refining your lighting, altering textures, or adding lifelike detail, Photoshop becomes your design playground.
3. Building Mood Boards and Visual Palettes That Speak Volumes
Every great interior design project begins with a vision. Translating that vision into mood boards and palettes is where many designers begin. Here’s where Photoshop shines again—by giving you a digital canvas to build compelling visual proposals that communicate style and emotion.
Start with a neutral background. Arrange fabric swatches, flooring samples, color blocks, lighting images, and inspiration photography. Photoshop’s grid layout guides and snapping tools make everything easy to align, keeping your mood board tidy and balanced.
Next, use Layer Masks and Opacity Adjustments to blend visuals seamlessly. For instance, you might layer a copper pendant light over a dark gray wall background and fade the edges to emphasize texture contrast. The result looks curated, not cluttered.
The Eyedropper Tool lets you pull consistent colors across images. Once you have your palette, you can create swatches and label them with HEX or CMYK values. This not only creates harmony across your board but also ensures color accuracy when sourcing materials.
Want to present alternate concepts? No need to start over. Use Photoshop’s Layer Comps feature to build and toggle between multiple versions of the same mood board. This saves time and allows clients to compare styles with clarity.
A visually consistent and emotionally resonant mood board is not just decorative—it’s persuasive.
4. Techniques to Create Stunning Interior Mockups in Photoshop
Beyond mood boards, the real impact lies in your ability to simulate finished spaces. Photoshop allows you to build interior mockups that show your exact vision in realistic detail. And the more believable your mockup, the more likely your client will say yes.
Here’s how to do it effectively:
-
Start with a Base Image
Use a high-quality photo of the actual room, or a render from SketchUp or Revit. This gives you the spatial layout and lighting context. -
Import Design Elements as Smart Objects
Furniture, décor, textures, and lighting fixtures can be brought in and scaled easily. Smart Objects keep quality intact. -
Use Shadows and Highlights Strategically
This is what adds depth. Use Drop Shadows, the Burn Tool, and custom shadow layers to anchor items in the scene. -
Adjust Lighting for Realism
Use Gradient Maps or Lighting Effects Filters to simulate light direction, window reflections, or ambient warmth. -
Use Textures with Clipping Masks
Want to show marble countertops, brick walls, or velvet drapes? Drag texture images into Photoshop, then clip them to your shapes. This keeps them confined and clean. -
Color Balance and Tone Matching
Ensure your imported elements match the lighting temperature of the base photo. Use Curves, Selective Color, and Hue/Saturation tools to sync everything seamlessly.
You don’t need to be a CGI expert. With Photoshop, you can create ultra-realistic scenes using layers, lighting, and patience. The key is in the details—and your ability to make it feel like a photograph, not a collage.
5. Presenting Projects and Portfolios That Win Clients
Once the mockups and boards are ready, it’s time to build your final presentation. Whether you’re emailing a client, pitching to a developer, or preparing a portfolio for new work—how you present is as important as what you present.
Photoshop lets you create entire slide decks or portfolio pages that feel branded and professional. Design a cover slide with your logo, project name, and a hero image. Then move into story-driven slides showing mood boards, space plans, color palettes, and mockups.
Use consistent margins, font styles, and background themes to maintain a polished look throughout. Break your content into sections, such as:
-
Introduction to the Project
-
Design Inspiration & Mood
-
Material Selection
-
Room-by-Room Visualizations
-
Final Summary and Next Steps
Also, consider using realistic print or digital mockups to frame your presentation. For example, show your mood board inside a digital tablet mockup, or a living room render within a modern frame. This gives your designs context and adds professional polish.
When building portfolios, organize them by project type (residential, commercial, hospitality) and include short captions with each image. Keep the visual weight balanced and avoid overcrowding pages.
With Photoshop, you can export for print in 300 DPI or compress for web use with minimal quality loss. This versatility means your work always looks great—no matter how it’s viewed.
🎯 Conclusion: From Drafts to Digital Masterpieces
Interior design is about vision, but great design only becomes great business when clients understand that vision. That’s where Photoshop Interior Design Presentations takes center stage.
By mastering Photoshop, you empower yourself to communicate clearly, iterate quickly, and present professionally. You create visual experiences that move beyond sketches and static renders—ones that spark emotional engagement and help clients say “yes” with confidence.
From mood boards to mockups, from lighting edits to layout planning—Photoshop offers the creative control and flexibility that today’s designers need.
So if you’re ready to level up your presentations and transform your ideas into persuasive visuals, Photoshop is the tool that gets you there. Learn it. Practice it. Master it.

