")
Bring Your Designs to Life: Master 2D Layout Visualization in Lumion
2D Layout Visualization Lumion has always been the foundation of architecture and interior planning. Floor plans, schematics, and technical drawings are crucial for accuracy, but they often lack the emotional and spatial impact needed to engage clients. For designers, transforming these flat layouts into realistic visualizations is essential. This is where learning to visualize 2D layouts in Lumion becomes a game-changing skill.
Lumion allows architects, designers, and students to convert 2D plans into immersive visual experiences. Instead of presenting abstract lines and measurements, you can create engaging images and walkthroughs that showcase spaces in their true context. By mastering Lumion, you enhance not only the clarity of your presentations but also the decision-making process during design development.
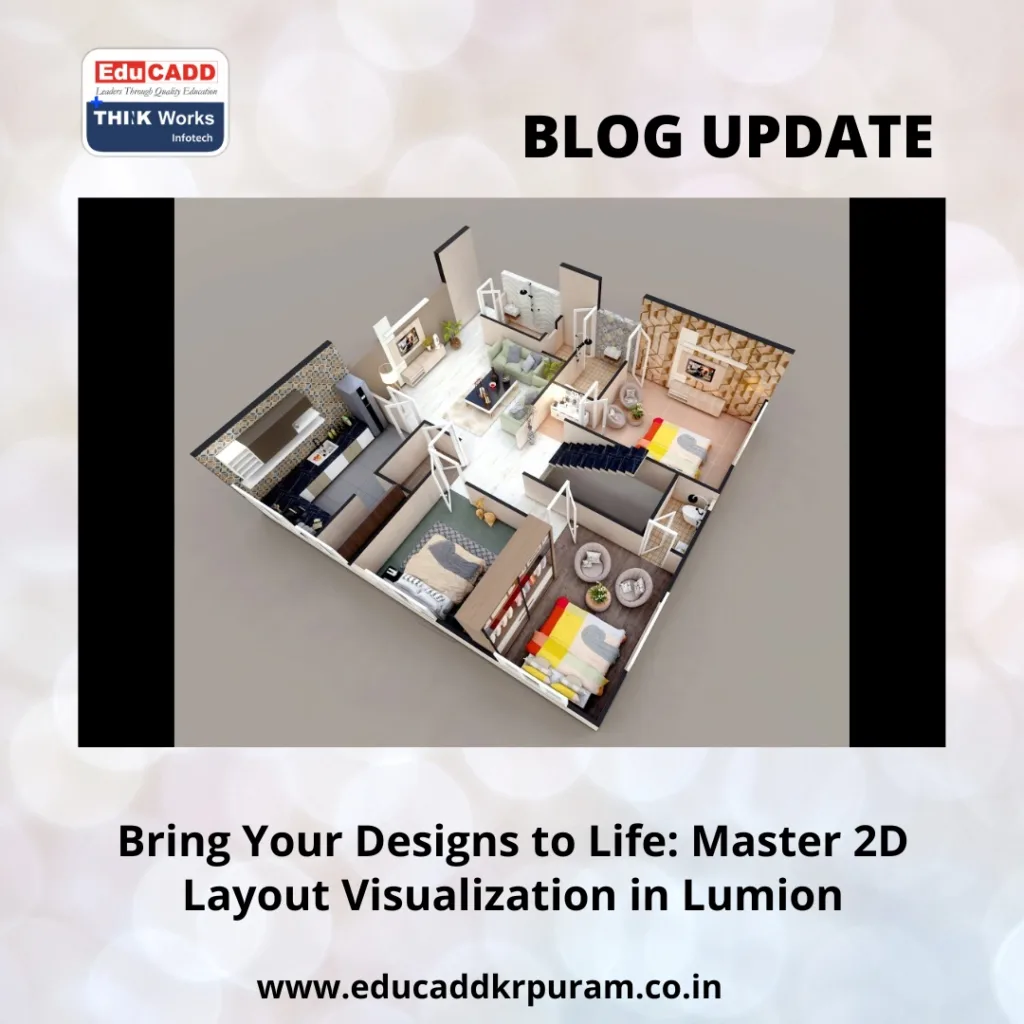
2D Layout Visualization Lumion
This guide will take you through a comprehensive journey: understanding the basics, step-by-step methods, expert tips, troubleshooting common challenges, and advanced techniques for professional-grade visualization.
H2: Understanding 2D Layout Visualization in Lumion
Visualizing 2D layouts in Lumion is more than just importing a plan. It involves translating technical drawings into three-dimensional environments while preserving scale, proportions, and design intent. Lumion bridges this gap effectively with intuitive tools, a rich library of materials, and realistic rendering options.
Before diving in, it’s essential to ensure your 2D plans are precise. Whether created in AutoCAD, Revit, or SketchUp, layouts should be dimensionally accurate. Lumion supports formats such as DWG, SKP, and FBX, which ensures smooth importing. Once imported, proper alignment with Lumion’s workspace grid guarantees correct scale and proportion.
Another critical aspect is lighting. Even when visualizing 2D layouts, light and shadow significantly influence perception. Experimenting with different lighting angles and intensities enhances depth and realism, allowing clients to better understand spatial relationships.
Moreover, understanding Lumion’s interface—navigating through camera controls, assigning materials, and placing objects—is vital. This knowledge ensures your workflow remains efficient and reduces the time required for revisions.
H2: Step-by-Step Workflow to Visualize 2D Layouts
A structured workflow ensures smooth visualization and professional results. Here’s a practical approach to mastering 2D layout visualization in Lumion:
Step 1: Prepare Your 2D Layout
Begin by cleaning your 2D plan. Remove unnecessary lines and layers while ensuring that walls, doors, windows, and furniture are accurate. A simplified layout reduces complexity during import.
Step 2: Import into Lumion
Use Lumion’s import feature to bring the file into your workspace. Select the appropriate format—DWG, SKP, or FBX—and adjust scaling if necessary. Align the plan with the Lumion grid for accurate proportions.
Step 3: Assign Materials
Materials bring your layout to life. Walls, floors, and furniture require textures that match their real-world counterparts. Lumion’s library offers thousands of options, and you can import custom textures for more control.
Step 4: Place Objects Strategically
Adding furniture and decor helps viewers understand functionality. Use Lumion’s object library to include chairs, tables, plants, and more. Maintain proportion and avoid overcrowding to keep the layout readable.
Step 5: Optimize Lighting
Lighting affects mood and spatial perception. Adjust sunlight, ambient light, and shadows to add depth. Explore effects such as soft shadows or ambient occlusion to enhance realism further.
Step 6: Render and Export
Finalize your scene by setting camera angles. Lumion allows both high-resolution images and animated walkthroughs. Export visuals to share with clients, stakeholders, or for presentations.
Following this structured workflow ensures accuracy, clarity, and impact, helping you learn to visualize 2D layouts in Lumion effectively.
H2: Tips for Professional-Quality Layout Visualizations
Even beginners can achieve remarkable results with a few smart strategies. Here are actionable tips for refining your layouts:
-
Organize Using Layers: Separate walls, furniture, and lighting on different layers. This improves editing efficiency.
-
Maintain Correct Scale: Always cross-check dimensions to avoid unrealistic visuals.
-
Highlight Important Spaces: Use lighting or camera focus to emphasize key rooms or areas.
-
Add Minimal Landscaping: Outdoor context, even simple trees or paths, adds realism.
-
Experiment with Camera Angles: Combine top-down and eye-level views to communicate both layout and ambiance.
-
Use Effects Subtly: Effects like reflections, glow, or depth of field enhance realism but should not distract from the layout.
Applying these strategies ensures your 2D layouts not only communicate space but also inspire and engage clients effectively.
H2: Common Challenges and Solutions
Designers often encounter obstacles while visualizing 2D layouts in Lumion. Knowing how to address them saves time and improves output quality.
Scaling Problems
Layouts may appear distorted if dimensions are off. Verify your CAD software units before importing and adjust scaling in Lumion as needed.
Cluttered Scenes
Too many objects can make layouts confusing. Focus on functionality and readability by keeping placements simple and purposeful.
Lighting Flatness
Incorrect lighting can make a design appear dull. Combine natural and artificial lights, adjust shadow intensity, and consider time-of-day scenarios.
Material Misrepresentation
Applying incorrect textures reduces realism. Always match textures to real-world materials and use high-resolution images when possible.
Rendering Slowdowns
Heavy scenes may slow performance. Optimize by hiding unnecessary objects, using low-quality previews for adjustments, and upgrading system resources if needed.
By proactively tackling these issues, you can ensure smooth and professional visualization of 2D layouts.
H2: Advanced Techniques to Elevate Visualizations
Once the basics are mastered, advanced techniques can take your skills to a professional level:
1. Animated Walkthroughs
Create camera paths to simulate a walk through the space. This interactive approach helps clients understand flow and scale.
2. Interactive Sections
Use sectional views or cutaways to highlight interior details. Clients appreciate seeing hidden elements or interior layers.
3. Environmental Context
Add surrounding elements like streets, greenery, or neighboring structures. Contextualization enhances realism and engagement.
4. Dynamic Lighting
Experiment with volumetric lighting, shadows, and global illumination. Adjusting lighting scenarios conveys different moods or times of day.
5. Post-Processing Enhancements
Refine renders by adjusting brightness, contrast, color grading, and lens effects. Post-processing can dramatically improve presentation quality.
6. Collaborative Reviews
Share renders early in the design process to collect feedback. Lumion Cloud or high-resolution exports ensures teams and clients stay aligned.
Integrating these advanced techniques ensures your ability to learn to visualize 2D layouts in Lumion goes beyond basic renders, producing professional, compelling presentations.
Conclusion: Transforming 2D Plans into Immersive Experiences
2D Layout Visualization Lumion, but their impact is limited when presented as flat drawings. Lumion transforms these plans into vivid, immersive visualizations that communicate scale, proportion, and aesthetics effectively.
By mastering Lumion, following structured workflows, applying expert tips, and leveraging advanced techniques, designers can produce stunning, professional-grade presentations. Visualization is no longer just about showing measurements—it’s about storytelling. Every rendered layout becomes a narrative of space, form, and function.
When you learn to visualize 2D layouts in Lumion, you empower your designs to engage clients, inform stakeholders, and elevate your professional credibility. Each project, no matter how simple, becomes a visual experience that is memorable and impactful.

