")
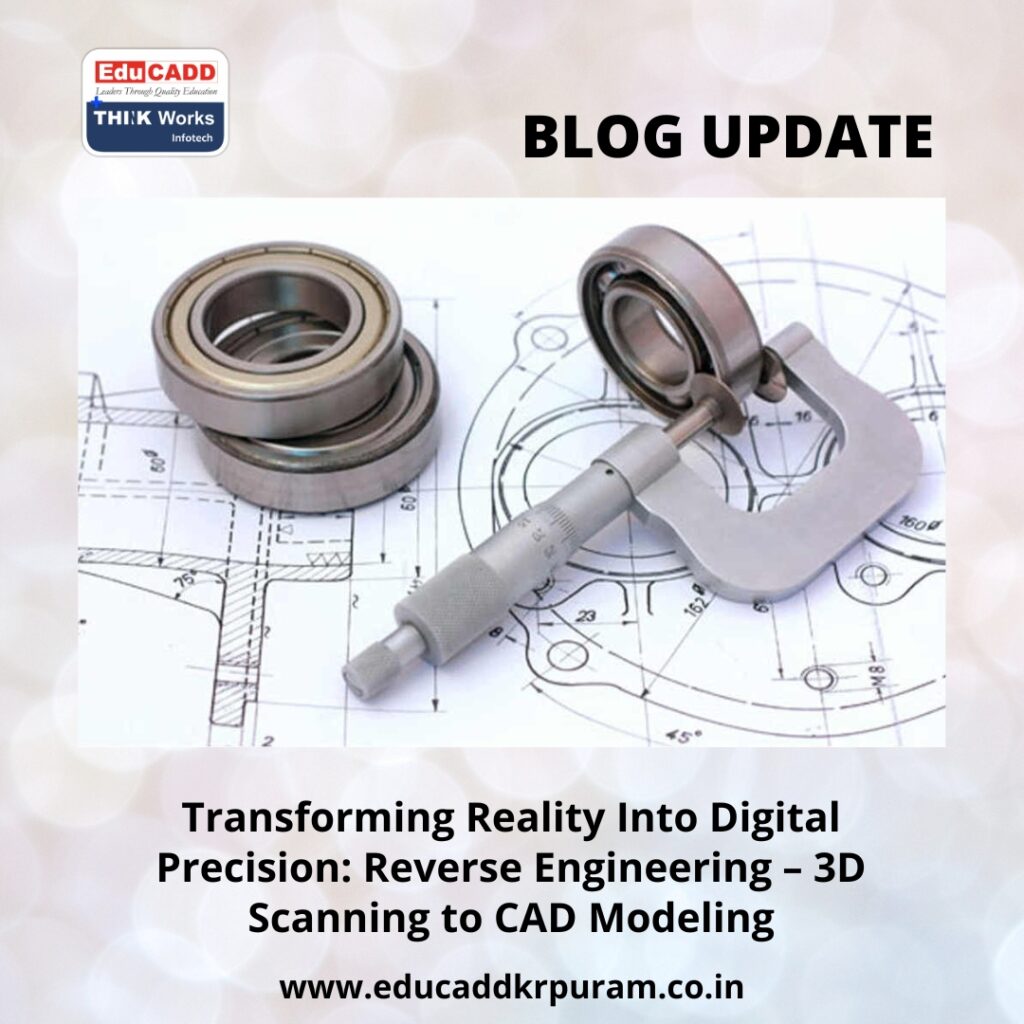
Transforming Reality Into Digital Precision: Reverse Engineering – 3D Scanning to CAD Modeling
Converting a physical object into a fully editable digital model is now a cornerstone of modern engineering and design. Reverse Engineering 3D Modeling—specifically, the journey from 3D scanning to CAD modeling—enables designers and engineers to recreate, analyze, and enhance objects even without original files. This workflow not only preserves legacy parts but also opens opportunities for innovation. In this article, we explore the step-by-step process, share best practices, and highlight practical tips for high-accuracy results.
Reverse Engineering 3D Modeling
We will cover:
-
Preparing Objects and Planning the Process
-
Capturing High-Quality 3D Scans
-
Processing, Cleaning, and Optimizing Meshes
-
Building the CAD Model from Scan Data
-
Verification, Refinement, and Best Practices
1. Preparing Objects and Planning the Process
A successful reverse engineering project starts before any scanning. Careful preparation ensures accuracy and efficiency.
The Value of Reverse Engineering
Reverse engineering transforms tangible objects into digital models. This is essential when CAD files are unavailable or outdated. Using Reverse Engineering 3D Modeling, engineers can replicate parts, inspect them for wear or errors, and even adapt them for new applications. It bridges the physical and digital worlds while preserving functional integrity.
Key Concepts
-
Point Clouds: Collections of 3D points captured from a scanner
-
Mesh/ STL Files: Triangular representations of surfaces
-
Parametric CAD Models: Feature-based, editable models with extrudes, fillets, and lofts
-
Design Intent: Functional reasoning behind geometrical choices
-
Datum References: Planes and axes for alignment and modeling
Preparing the Object
Clean the object thoroughly, removing dirt, grease, or rust. Apply matte sprays to reflective surfaces and attach reference markers if needed. Identify key features such as flat faces, holes, and edges, which will help during modeling.
Plan your coordinate system carefully—select primary faces and axes to maintain alignment. Determine the scanning method based on object size and complexity.
2. Capturing High-Quality 3D Scans
Accurate scanning is the foundation of a successful reverse engineering workflow.
Choosing the Right Scanning Technology
| Method | Strengths | Limitations |
|---|---|---|
| Structured-Light | High detail, fast | Sensitive to surface gloss |
| Laser Triangulation | Very precise | Slower, may need multiple passes |
| Photogrammetry | Cost-effective for large objects | Less accurate, needs many images |
| Industrial CT | Captures internal geometry | Expensive, slower process |
Structured-light and laser scanning are most common for surface-focused reverse engineering. CT scanning is used for complex internal features.
Effective Scanning Techniques
-
Overlap scans 30–50% for proper alignment.
-
Rotate the object to capture hidden surfaces and undercuts.
-
Use fixtures or turntables to stabilize objects.
-
Control lighting to reduce drift or errors.
-
Inspect scans in real-time and rescan areas with gaps or noise.
3. Processing, Cleaning, and Optimizing Meshes
Raw scans contain noise and irregularities. Mesh processing ensures smooth transition to CAD.
Cleaning and Aligning Scans
Remove stray points, spikes, and irrelevant geometry. Align multiple scans using ICP algorithms or reference markers. Merge overlapping scans into a single mesh. Patch minor holes manually or with software tools.
Optimizing the Mesh
Reduce triangle count with adaptive decimation while preserving detail on curved surfaces. Fix non-manifold edges, flipped normals, and intersections to prepare the mesh for modeling.
Segmenting and Patching Surfaces
Divide the mesh into logical patches corresponding to planes, cylinders, or freeform areas. Fit primitive surfaces for easier CAD reconstruction. Preserve complex areas for surface modeling.
4. Building the CAD Model from Scan Data
Now, the mesh becomes an editable digital blueprint.
Selecting a Modeling Strategy
Two approaches dominate:
-
Feature-Based Parametric Modeling: Use sketches and features to replicate geometry.
-
Surface/Hybrid Modeling: Fit NURBS surfaces to mesh patches and stitch into solids.
Often, both are used: feature-based modeling for regular geometries, surfaces for organic or curved shapes.
Reconstructing Features
Identify holes, extrusions, slots, and ribs. Use cross-sections or curves from the mesh as guides. Leverage symmetry to reduce repetitive work.
Surface Modeling for Complex Geometry
Fit NURBS or freeform surfaces to match the mesh. Maintain continuity between surfaces, trim edges, and stitch surfaces into solids. Use the mesh as a reference to maintain design accuracy.
Combining Features and Surfaces
Merge surfaces and features with Boolean operations. Apply fillets and blends to ensure smooth transitions. Keep features parametric to allow future edits.
Tools for Reverse Engineering
-
Geomagic Design X / SOLIDWORKS XTract3D for mesh-to-CAD workflows
-
Quicksurface for primitive extraction and surface reconstruction
-
MeshLab / CloudCompare for mesh cleanup and segmentation
-
Autodesk ReCap / Inventor for Autodesk ecosystem users
5. Verification, Refinement, and Best Practices
After CAD reconstruction, verify accuracy and refine as needed.
Validation and Deviation Analysis
Compare CAD to original mesh using deviation maps. Identify areas where geometry diverges and adjust features accordingly. Focus on functional elements like mating surfaces and holes.
Iterative Refinement
Make multiple passes: adjust sketches, refine surfaces, reapply blends. Verify each iteration using deviation analysis to maintain accuracy.
Best Practices
-
Prioritize critical features first.
-
Exploit symmetry and repetition.
-
Anchor features to well-defined datums.
-
Maintain parametric structures instead of “dumb solids.”
-
Suppress minor surface imperfections to focus on functional geometry.
-
Rescan or supplement data when gaps or errors exist.
Common Challenges
-
Reflective or transparent surfaces → use sprays or markers
-
Deep cavities or undercuts → specialized scanning angles or attachments
-
Large meshes → decimate while keeping critical detail
-
Maintaining continuity → ensure surfaces meet tangentially
Conclusion
Reverse Engineering 3D Modeling transforms physical parts into editable, precise digital models. By carefully following these stages—preparation, scanning, mesh processing, CAD reconstruction, and validation—you can create high-fidelity, functional digital replicas. This workflow not only preserves legacy components but also enhances flexibility and innovation in modern design.

