")
Transform Interiors with V-Ray: Lighting Secrets for Photorealistic Design
In the world of interior rendering, light is not just about brightness—it defines the personality of a space. When used well, lighting brings depth, warmth, and authenticity to a design. When ignored, it makes even the most detailed model look flat and lifeless. That’s why mastering V-Ray Interior Lighting for realistic interiors is essential for any designer, architect, or 3D artist who wants to create truly immersive visualizations.
V-Ray has become the go-to rendering engine because it replicates both natural and artificial light with precision. With the right approach, you can transform digital rooms into spaces that look like they were photographed. From sunlit living areas to softly lit bedrooms, V-Ray gives you the flexibility to capture every mood.
V-Ray Interior Lighting
In this blog, we’ll explore practical methods to elevate your renders. You’ll discover how to use natural daylight, enhance interiors with artificial fixtures, add atmosphere through emissive surfaces, and refine everything with global illumination. By the end, you’ll have a roadmap for creating interiors that feel alive and visually compelling.
Why V-Ray Lighting Defines Realism in Interior Renders
Lighting is more than a technical step—it’s the foundation of realism. By using V-Ray lighting techniques for realistic interiors, you can control how shadows fall, how surfaces interact, and how viewers emotionally connect with the space. Without proper lighting, even the most advanced 3D models lose their impact.
V-Ray offers multiple tools tailored for interior design, such as Sun and Sky systems, Dome Lights, Plane Lights, and IES profiles. Each serves a purpose. Dome Lights paired with HDRIs create soft ambient effects, while IES lights mimic real lamp patterns for authentic results.
The magic happens when you balance these sources. Too much intensity flattens the image, while too little hides important details. By layering different lights thoughtfully, you guide the viewer’s eye and highlight the best aspects of the interior. In short, V-Ray turns light into a design language that helps you tell the story of the space.
Bringing Natural Light Indoors with Sun, Sky, and Dome Light
Natural light is the cornerstone of interior realism. With V-Ray lighting techniques for realistic interiors, the Sun and Sky system allows you to simulate daylight conditions with precision. By changing the sun’s position, you can showcase how a space feels at sunrise, midday, or evening.
Adding a Dome Light enhances the effect by filling the scene with soft, even illumination. When combined with HDRI images, it brings the outside world into your render. For instance, an HDRI of a cloudy sky can add subtle reflections on windows, making the interior appear more lifelike.
To achieve balanced results, focus on window placement and light angles. Let sunlight enter naturally, and use Dome Light for ambient fill. Always check exposure levels to avoid overexposure, which can wash out textures and materials. With careful adjustments, you’ll capture interiors that feel bright yet realistic.
Elevating Interiors with Artificial Lighting in V-Ray
While daylight creates a foundation, artificial lighting adds mood and character. Using V-Ray lighting techniques for realistic interiors, you can reproduce the effect of every kind of fixture—pendants, sconces, LED strips, or chandeliers.
Plane Lights are perfect for broad, soft illumination, making them useful for ceiling lights or large fixtures. IES profiles go a step further by mimicking how actual bulbs behave. An IES light inside a wall sconce, for example, projects natural patterns onto walls, increasing authenticity.
The key is layering. Start with general lighting for overall brightness, then add accent and task lights for detail. A soft Plane Light can light a room evenly, while warm IES lights highlight artwork or furniture. This layering mirrors real-world design principles and makes renders more convincing.
Color temperature also influences mood. Warm tones create a cozy feeling in living spaces, while cooler tones work better for offices and kitchens. Adjusting these settings ensures your artificial lighting matches the intended purpose of the room.
Adding Atmosphere with V-Ray Emissive Materials
Beyond standard lights, emissive materials add cinematic flair. By assigning a V-Ray Light Material to objects, you can make them glow as light sources. Think of TVs, decorative lampshades, neon signs, or LED strips. These elements don’t just brighten—they add subtle ambiance.
For example, a bedside lamp with emissive properties casts a warm glow that softens the entire corner of a bedroom. Similarly, under-cabinet LED strips in a kitchen create modern highlights while improving depth.
For better realism, pair emissive objects with invisible plane lights. This method ensures both glow and actual illumination. But avoid overusing emissive surfaces—they can cause rendering noise and extend render times. Use them as accents to complement your primary lighting.
By introducing emissive details, you can bring interiors to life with small touches that viewers instantly recognize from real environments.
Refining Renders with Global Illumination and Post-Processing
Even with great lighting setups, final adjustments are necessary. Global Illumination (GI) in V-Ray ensures light bounces naturally within interiors. With GI enabled, walls reflect light onto furniture, and colors interact realistically. Without it, renders look artificial and lack depth.
V-Ray offers multiple GI methods. Brute Force provides high accuracy, while Irradiance Map offers speed. Many professionals combine Brute Force with Light Cache for interiors, balancing realism with efficiency.
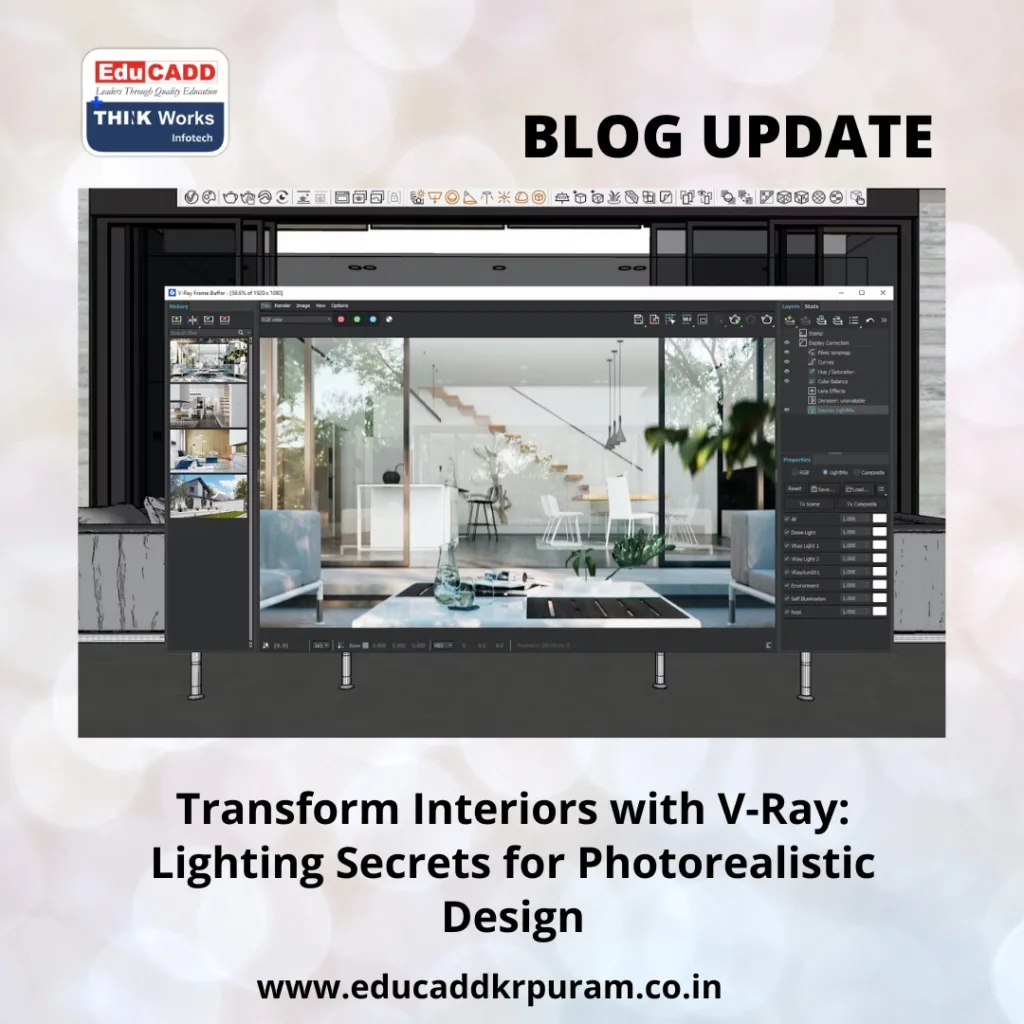
Post-processing adds the finishing touch. Using the V-Ray Frame Buffer, you can adjust exposure, tweak contrast, and fine-tune color balance. Subtle bloom and glare effects replicate how cameras capture light, making renders appear more photographic.
The final step is comparison. Always check your render against real photos for reference. Spotting differences helps you improve light placement and intensity. With practice, you’ll sharpen your skills and consistently deliver lifelike results.
Conclusion
Learning V-Ray lighting techniques for realistic interiors is a journey that blends technical precision with artistic vision. Natural light builds the base, artificial fixtures add personality, emissive materials bring atmosphere, and GI ensures realism. Together, these techniques let you produce interiors that look and feel authentic.
The secret lies in practice. Every project teaches you something new about how light behaves. By experimenting, layering, and refining, you’ll move closer to photorealistic interiors that impress clients and elevate your design portfolio.
In the end, V-Ray is more than a rendering tool—it’s a bridge between design imagination and visual storytelling. With lighting as your guide, your interiors will not only look realistic but also resonate with emotion and style.

